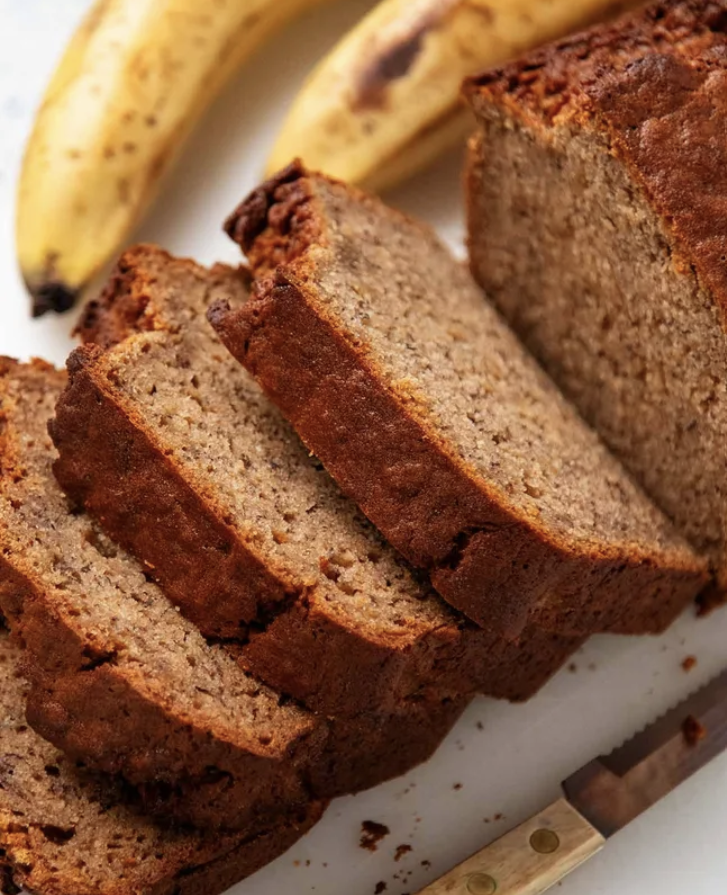
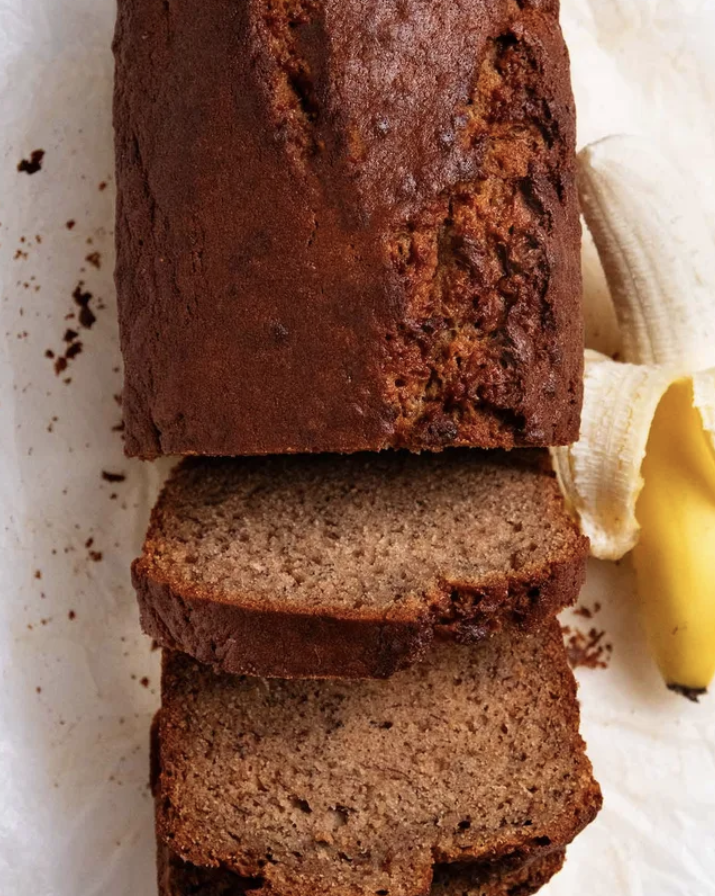
The wait is finally over! After weeks of testing, tweaking and plenty of tasting, my banana bread recipe is finally ready to share. Crispy golden top, caramelised sides, and a soft crumb with big banana flavours that slices like a dream. Let’s go!
Banana Bread
“Now we can post banana bread!” Those were Nagi’s words when we agreed that I was going to start publishing recipes under my name. So, my friends, now is the time! Those spotty, forgotten bananas on your bench are about to be put to good use.
I must admit, before starting working on this recipe, I didn’t have a go-to banana bread recipe. But I’ve eaten plenty of them, so I knew exactly what I was after. I had a clear idea of the flavour, the texture and the ingredients I wanted, after that, it was just a matter of testing, tweaking and baking again (and again!) until it was just right. The RecipeTin Eats way.
My first tests turned out well, and I was happy with the results. But then we decided that it should be a taller loaf. That’s when I ran into few difficulties finishing the recipe. The centre of the loaf was taking longer to cook, which meant the sides were starting to dry out. And the more you test, the more questions you create. Can we make it better? What happens if we change this? Suddenly the list of iterations grows. Different sugars, different spices, more eggs, less flour, no butter, more oil, baking powder instead of baking soda, shorter bake, longer bake, covered, uncovered. As we always say, the last 5% is always the hardest. That’s the part that makes it perfect. But 30 something banana breads later, here we are with a great recipe I am ready to share. 😊
Ingredients
Let’s talk about the bananas! They don’t have to be very overripe. Spotty or mostly brown bananas work the best because they are sweeter, but I’ve also tested this recipe with just-ripe ones, yellow, with no brown at all, and the result was just as good.
Ingredients
- 3 ripe bananas (the browner, the better)
- 1/3 cup melted butter
- 1/2 cup sugar (adjust to taste)
- 1 egg (beaten)
- 1 teaspoon vanilla extract
- 1 teaspoon baking soda
- Pinch of salt
- 1 1/2 cups all-purpose flour
Instructions
- Preheat your oven to 175°C (350°F). Grease a loaf pan.
- In a bowl, mash the bananas until smooth.
- Stir in the melted butter.
- Mix in sugar, egg, and vanilla.
- Sprinkle in baking soda and salt, then mix.
- Add the flour and stir until just combined (don’t overmix).
- Pour into the loaf pan.
- Bake for 50–60 minutes, or until a toothpick comes out clean.
- Let it cool before slicing.
Optional Add-ins
- Chopped nuts (cashews or walnuts)
- Chocolate chips
- A pinch of cinnamon
How To Serve Banana Bread
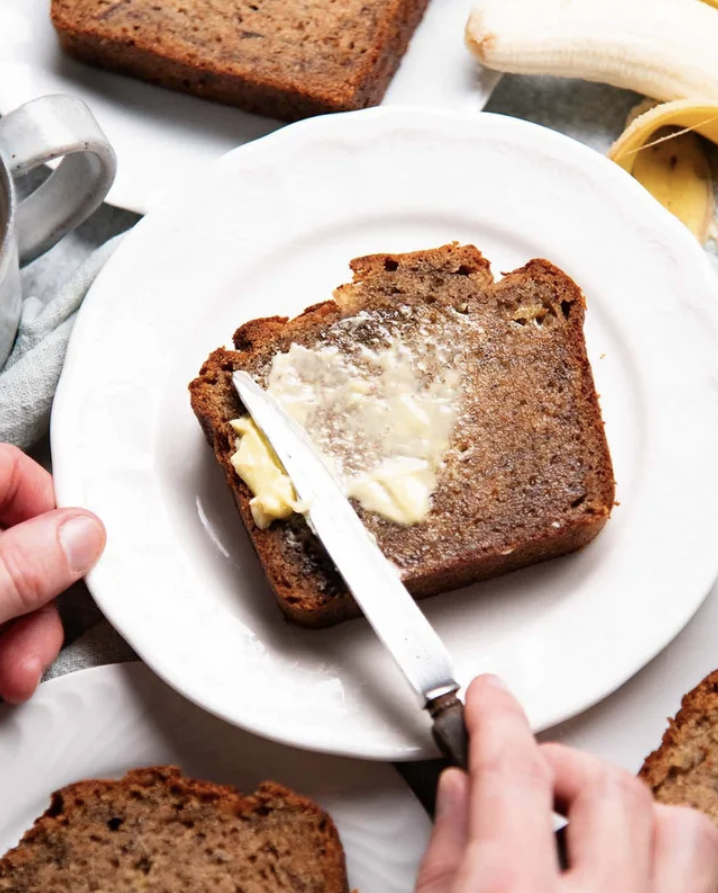
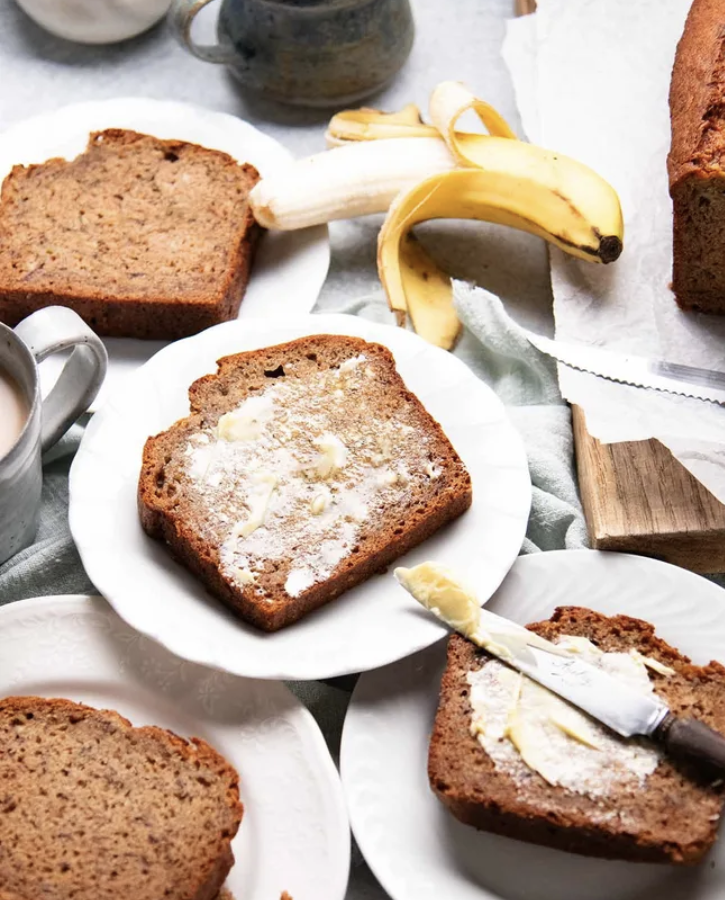
This banana bread is delicious slightly warmed or at room temperature. But the most common way and still the best way is lightly toasted with a little butter on top. It works perfectly for breakfast, afternoon tea, or a quick snack during the day. If you want to turn it into a dessert, serve it with a scoop of vanilla ice cream, a dollop of Chantilly cream and some chocolate sauce.
This recipe took a lot of testing, but I’m happy with the result, a soft, tender loaf with great banana flavour that works every time. Simple ingredients, simple method, and a banana bread you can rely on.
I hope you enjoy baking and eating this one as much as I did. If you make it, please let me know how it turns out. Happy baking and bon appétit!
Recipe Notes:
1. Baking Soda – Also known as bi-carbonate of soda, it makes the loaf rise and keeps it light. Baking powder doesn’t work as well. The banana bread wouldn’t rise as much and its texture would be different.
2. Banana ripeness – The riper the bananas, the stronger the flavour and sweetness, but the texture of the bread stays the same.
- Just ripe (yellow, no spots): light banana flavour, less sweetness.
- Ripe (yellow with a few brown spots): balanced flavour and sweetness.
- Overripe (lots of brown spots or mostly brown): deeper banana flavour and more natural sweetness.
All stages work well. The difference is in taste, not texture, the crumb will stay soft and moist regardless. Again, if you can’t find overripe bananas or don’t have time to let them ripen, don’t worry, ripe yellow bananas will still make a great banana bread!
3. Sour cream – A key element here, fat helps create a soft crumb and prevent the bread from drying out and its mild acidity triggers the baking soda to react and create the beautiful banana bread rise. Yoghurt is a great substitute. Avoid milk or buttermilk, they are thinner and can change the batter consistency, leading to a looser structure.
4. Mashing bananas – If you don’t have a masher, a fork will do the job just fine. It may take a little longer, but keep pressing and mashing until the bananas are mostly smooth with only small lumps left.
5. Baking – If your oven runs a little cooler and after 70 minutes the centre is still not cooked, simply loosely cover the top with foil and continue baking. This will prevent the crust from browning too much while the middle finishes cooking. Check every 5–10 minutes with a skewer until it comes out clean.
6. Cooling down – If you plan storing it for later, you will need to let the banana bread cool completely, this can take up to 6 hours. If you don’t, the residual heat will make the crust soggy and create excess moisture that will affect texture and shorten the shelf life.
Leftovers and Storage – Keeps for 4 to 5 days in an airtight container. If the weather is warm or humid, you can store it in the fridge. For longer storage, slice the loaf, wrap and freeze the pieces individually. This way, you can take out a slice whenever you need one.
Nutrition Information:
Calories:328cal (16%)Carbohydrates:44g (15%)Protein:3g (6%)Fat:16g (25%)Saturated Fat:5g (31%)Polyunsaturated Fat:3gMonounsaturated Fat:7gTrans Fat:0.3gCholesterol:22mg (7%)Sodium:126mg (5%)Potassium:73mg (2%)Fiber:1g (4%)Sugar:22g (24%)Vitamin A:248IU (5%)Vitamin C:0.1mgCalcium:35mg (4%)Iron:1mg (6%